
I have an audio project (streaming radio) running on a Raspberry Pi. When I tested it on the latest version of the OS (“trixie”), I couldn’t get the audio output to the amplifier to work. This post explains how I got it working.
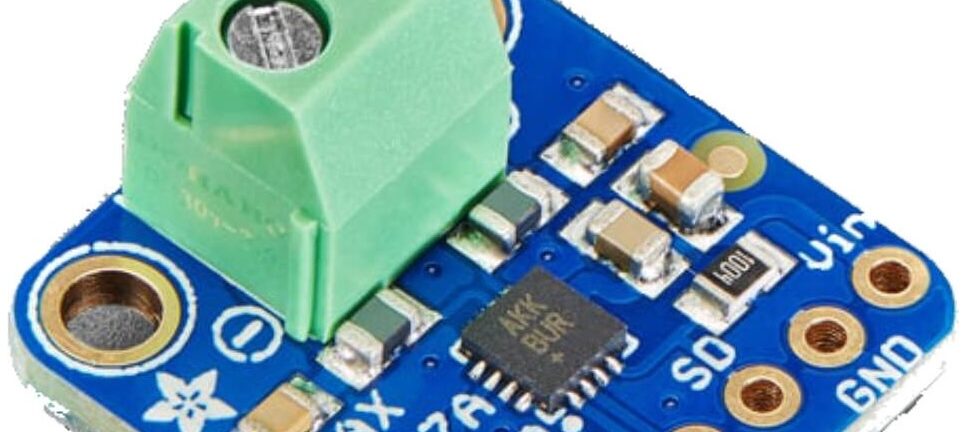
The amp I am using is the Adafruit I2S 3W Class D Amplifier, based on the Analog Devices MAX98357A chip. Several other audio devices use the same chip. Adafruit provide lots of support info on their website, including a script that is supposed to do all the setup necessary. I have used it in the past, with previous versions of the OS. However, with trixie, it didn’t work at all: I either got no output at all or a very distorted noise.
It turns out that their script is more complex than required, especially with a fresh installation of the OS. After a bit of research and testing, I found that there were only a couple of changes required. This seems to work for the previous versions of Raspberry Pi OS as well.
The following assumes you are starting from a clean installation of the OS. It also assumes you are reasonably comfortable working at the command line — all of my projects run headless (no desktop GUI).
Before doing anything else, make sure all the software is up to date by running the commands:
sudo apt update
sudo apt full-upgrade -y
There are two or three steps required to configure the hardware:
- Modify the OS boot configuration
- Add an audio configuration file
- Optional: Stop the annoying click when audio starts and stops
These are described below.
Modify the boot config
This installs the software to drive the amplifier.
Edit the file /boot/firmware/config.txt in your favourite editor (vi) and add the line:
dtoverlay=max98357aAdd a sound config
Next we need to create a configuration file for the audio. This enables software volume control and also makes this the default audio output.
Create the file /etc/asound.conf with the following content:
pcm.i2saudio {
   type hw card MAX98357A
}

pcm.dmixer {
   type dmix
   ipc_key 1024
   ipc_perm 0666
   slave {
     pcm "i2saudio"
     period_time 0
     period_size 1024
     buffer_size 8192
     rate 44100
     channels 2
   }
}

ctl.dmixer {
    type hw card MAX98357A
}

pcm.softvol {
    type softvol
    slave.pcm "dmixer"
    control.name "PCM"
    control.card MAX98357A
}

ctl.softvol {
    type hw card MAX98357A
}

pcm.!default {
    type             plug
    slave.pcm       "softvol"
}
The name of the PCM in this file is arbitrary. It just has to be the same where it is defined on the first line (pcm.i2saudio) and where it is used in the pcm.dmixer definition.
Reboot and test
Now reboot (sudo reboot) and then test the audio output with:
aplay /usr/share/sounds/alsa/Front_Center.wavIf the sound is loud and distorted, run alsamixer, select the sound card (F6) and adjust the volume level (try 50%).
Preventing clicks
You may find, on some combinations of hardware and software, that there are loud clicks at the start and end of playback. (If not, just ignore this step.)
If this happens, you can add a background process) plays “nothing”, just so that the audio system is always active.
Create the file /etc/systemd/system/aplay.service with the following contents:
[Unit]
Description=Invoke aplay from /dev/zero at system start.

[Service]
ExecStart=/usr/bin/aplay -D default -t raw -r 44100 -c 2 -f S16_LE /dev/zero

[Install]
WantedBy=multi-user.target
Save the file then start the service with:
sudo systemctl daemon-reload
sudo systemctl enable --now aplay
Conclusion
That’s it. I worked this out by trial and error, and putting together bits of information from various sources (some of which was wrong or misleading). I have now tried this on several different Raspberry Pi models (Zero, 3 and 4) and different OS versions. I hope it works for you.